Practical Guide for Integrative Wellness Clinics: Installing, Training, Accepting and Supporting the Metatron Hunter 4025 NLS Analyzer · body
Quick answer
For U.S. integrative wellness clinics planning to put a Metatron Hunter 4025 NLS analyzer into clinical use, the decision pivots on four practical items: (1) confirm the physical room, power and basic IT platform (Windows 7–11 supported) and privacy workflow before delivery; (2) require a structured operator training program that covers hardware setup, the Hunter software interface, standard scan protocol and basic report interpretation tied to the unit’s “Images with Epicrisis” output; (3) run a delivery acceptance procedure that verifies hardware, software version, a sample scan and one printed/electronically saved report; and (4) accept MAIKONG’s declared one‑year warranty, lead time and software support boundaries while arranging local service, spare parts and clinical governance locally. Below we set out the precise prerequisites, a recommended training plan, the acceptance checklist and clear after‑sales boundaries so your clinic can decide and schedule with confidence.
Contents
What the Metatron Hunter 4025 actually produces — key facts for training and acceptance
When we discuss operator readiness and handover tests we refer to the Metatron Hunter 4025 NLS analyzer (model MK-018). The product materials we provide report these core, verifiable outputs and characteristics that directly affect installation, training and acceptance:
We use these product facts to define the minimum training scope, the sample outputs to verify at handover, and what MAIKONG declares about warranty and delivery. The “Hunter” software is central to day‑to‑day use; confirm the clinic computer meets one of the supported Windows versions before delivery.
Installation prerequisites: space, power, workstation and environment
Before scheduling delivery, confirm the basics so installation is straightforward and acceptance tests are meaningful.
Room and furniture: Allocate a dedicated exam or consultation room with a stable desk for the scanner console and a patient chair or couch. The console is a medical‑style desktop system; allow roughly 1.2–1.8 m of desk depth and 1.5 m of clear floor in front of the patient seat so the operator can position leads/accessories without stretching cords.
Lighting and surfaces: Avoid strong direct sunlight on the monitor or reflective surfaces during image capture. A neutral background and dimmable ambient light help the operator read the on‑screen images and printed reports.
Power: Provide a dedicated, properly grounded AC outlet near the workstation. The product documentation does not specify unusual voltage options; follow local electrical codes and use surge protection. If your clinic has isolated power or UPS for diagnostic devices, plan to plug the unit into that circuit to avoid unexpected shutdowns during a scan.
Ventilation and temperature: Standard clinical room conditions (comfortable for staff and patients) are appropriate. Avoid locations with heavy dust, vibration or strong RF noise (near large motors, MRI suites, specialized RF transmitters).
Cables and accessories: Plan for tie points or cable channels so handpiece, electrode or accessory cables do not present tripping hazards. Have basic tool access (screwdriver, cable ties) available to secure the workstation during set up.
Checklist for physical installation (use at the planning phase)
Dedicated room reserved and cleaning scheduled for delivery day
Desk dimensions and clearances checked (1.5 m recommended clearance)
Grounded AC outlet with surge protection available
Patient chair/couch positioned for comfortable access
Minimal direct sunlight on display; low reflective surfaces
Installation prerequisites: IT, OS and software compatibility
The Hunter software ships as the primary user interface for the Metatron Hunter 4025; operators must use a compatible Windows machine. The product materials list the supported systems and software version we recommend verifying ahead of delivery:
Software version: Hunter, softwareVersion 2026. Confirm that the delivered unit includes the Hunter software installation media or that the supplier will install and register the software on your clinic PC during handover.
Account and network: Decide whether reports will be stored locally on the workstation or on a clinic network share. If you plan to save to a network folder, confirm write permissions in advance. The Hunter software may require administrative rights for installation—assign a local admin account for the technician’s use during setup.
Printer and export: Confirm a clinic‑compatible printer is available (PDF export should be tested as part of acceptance) and verify that the clinic’s EMR or document management system can accept image/PDF exports from Hunter if you plan to integrate results.
Antivirus and security policies: If the clinic uses strict endpoint policies, allow the Hunter installer and executable in whitelists or provide a temporary exemption for installation and update tasks.
Minimal IT acceptance checklist
Workstation OS: Windows 7 / 8 / 10 / 11 confirmed
Hunter software (2026) installed and launched successfully
Printer or PDF export tested
Network save/export tested (if required)
Admin rights available for installation
Intake, privacy and clinical boundary considerations for U.S. clinics
Practical Guide for Integrative Wellness Clinics: Installing, Training, Accepting and Supporting the Metatron Hunter 4025 NLS Analyzer · body
Integrative clinics in the United States must balance practical intake and recordkeeping with HIPAA and clinical governance. The Metatron Hunter 4025 is a diagnostic device that produces image‑based reports; plan these items before you accept delivery or start training.
Patient consent and scope: Document a clear consent form stating the nature of the scan, what the device reports (images with epicrisis), and the exploratory nature of the results. Ensure your clinic’s consent language and any marketing claims about the device are reviewed by legal or clinical leadership.
Protected health information (PHI): Treat saved scans and reports as PHI if they contain patient identifiers. Confirm secure storage, access control, periodic backups and a retention policy consistent with your clinic’s HIPAA obligations.
Clinical boundaries and referrals: Establish an internal policy describing how the device’s outputs are used in clinical decision‑making and when a patient should be referred to a licensed physician or specialist. The product materials do not provide clinical protocols; clinics must develop protocols that reflect local scope of practice.
Documentation of operator competencies: Keep written records of operator training and competency sign‑offs as part of your quality records. These documents are useful for clinical governance and medico‑legal risk management.
Operator training scope: core competencies every operator must learn
Practical Guide for Integrative Wellness Clinics: Installing, Training, Accepting and Supporting the Metatron Hunter 4025 NLS Analyzer · body
We recommend operator competency cover three core areas: technical operation, report handling, and clinical governance. The training should be role‑based (operator vs. clinical reviewer) and end with a documented competency sign‑off.
Hardware and safety: Correctly connect the console, accessories and leads; understand the device’s physical safeguards and energy‑use basics; perform routine visual checks before each session.
Software operation (Hunter): Start/stop scans, select scan protocols (auto 3‑D spiral and biological resonance modes), understand on‑screen controls, and export or print “Images with Epicrisis” reports. Training must cover the exact software version delivered (Hunter 2026).
Scan protocol and patient positioning: Consistent patient positioning, minimum preparation steps, contraindications for scanning (clinic-defined), and how to reduce artefacts during acquisition.
Report basics and triage: Recognize major report components, known limitations of the device outputs, and clinic procedure for escalating results to a licensed clinician when needed.
Troubleshooting and routine maintenance: Basic troubleshooting checklist (connectivity, software restart, accessory check), and what to do if a hardware fault occurs (contact support and log issue).
Data management: How to store, archive and delete patient reports in accordance with clinic policy and applicable privacy laws.
Operator training plan: format, curriculum and time allocation
Practical Guide for Integrative Wellness Clinics: Installing, Training, Accepting and Supporting the Metatron Hunter 4025 NLS Analyzer · body
We recommend a blended training approach. The supplier can provide initial instruction, but the clinic must schedule supervised practice and competency verification.
Format: Two parts — (A) instructor‑led setup and software session (on‑site preferred for the first unit), and (B) clinic‑led supervised practice sessions with competency checklists. Remote follow‑up sessions may be used for refreshers or for additional staff.
Curriculum (modular):
Introduction to the hardware and winch‑up checklist.
Live scan demonstration with a volunteer patient and one supervised trainee run.
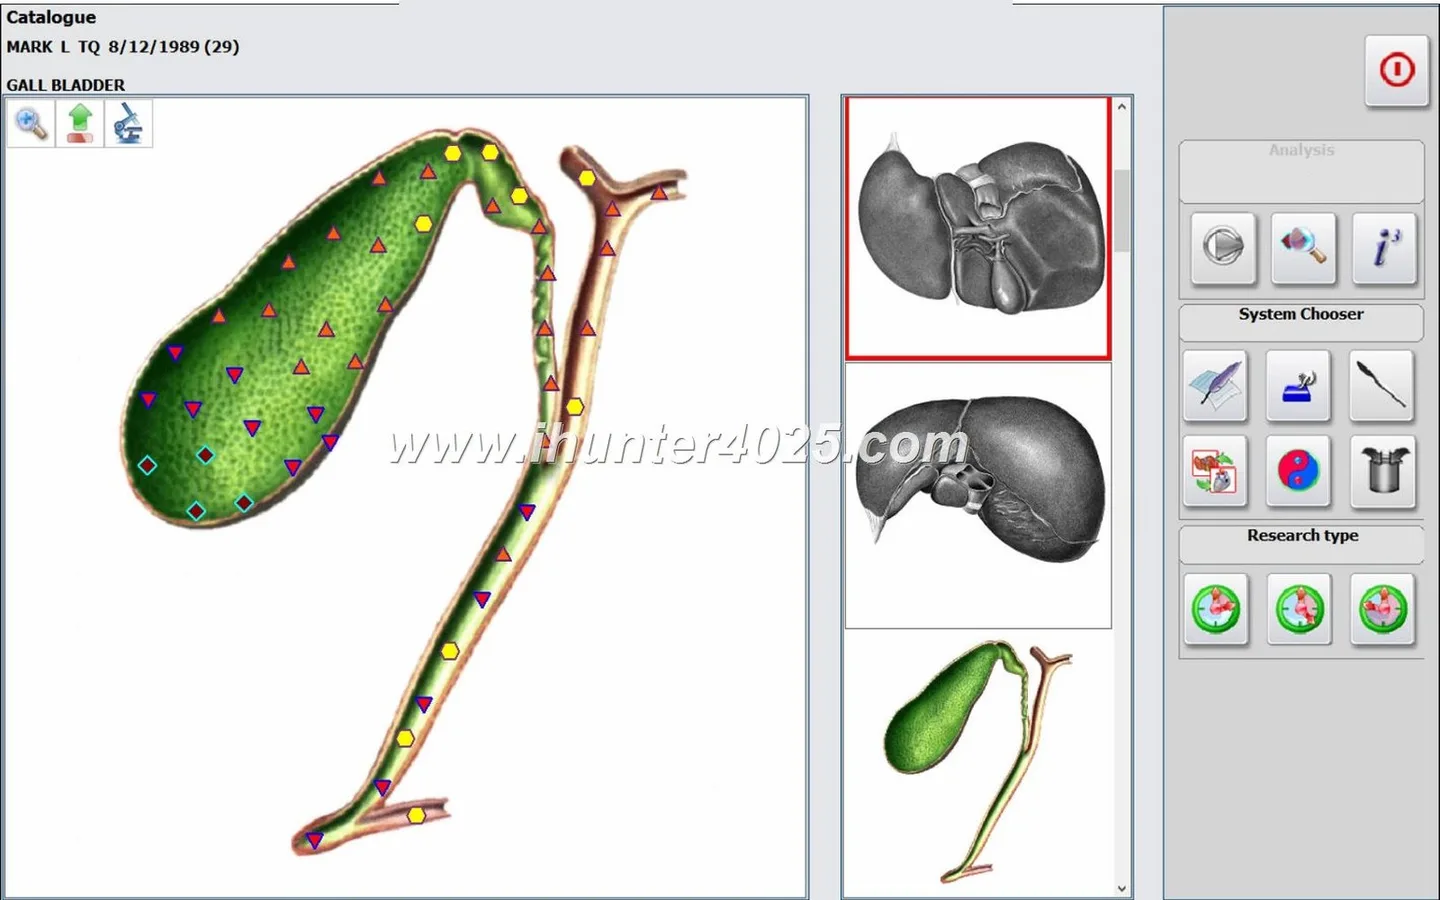
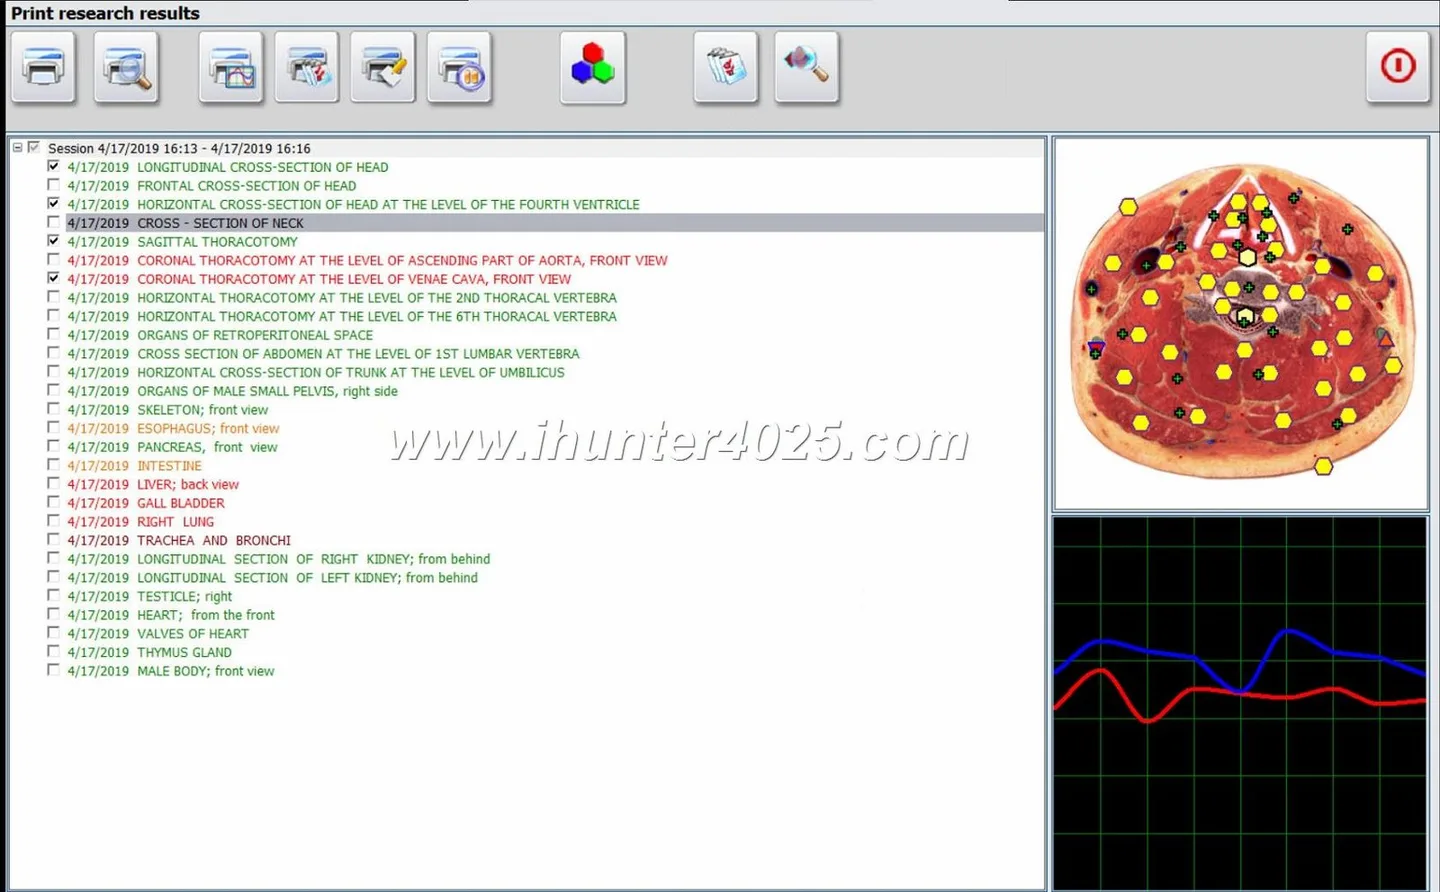
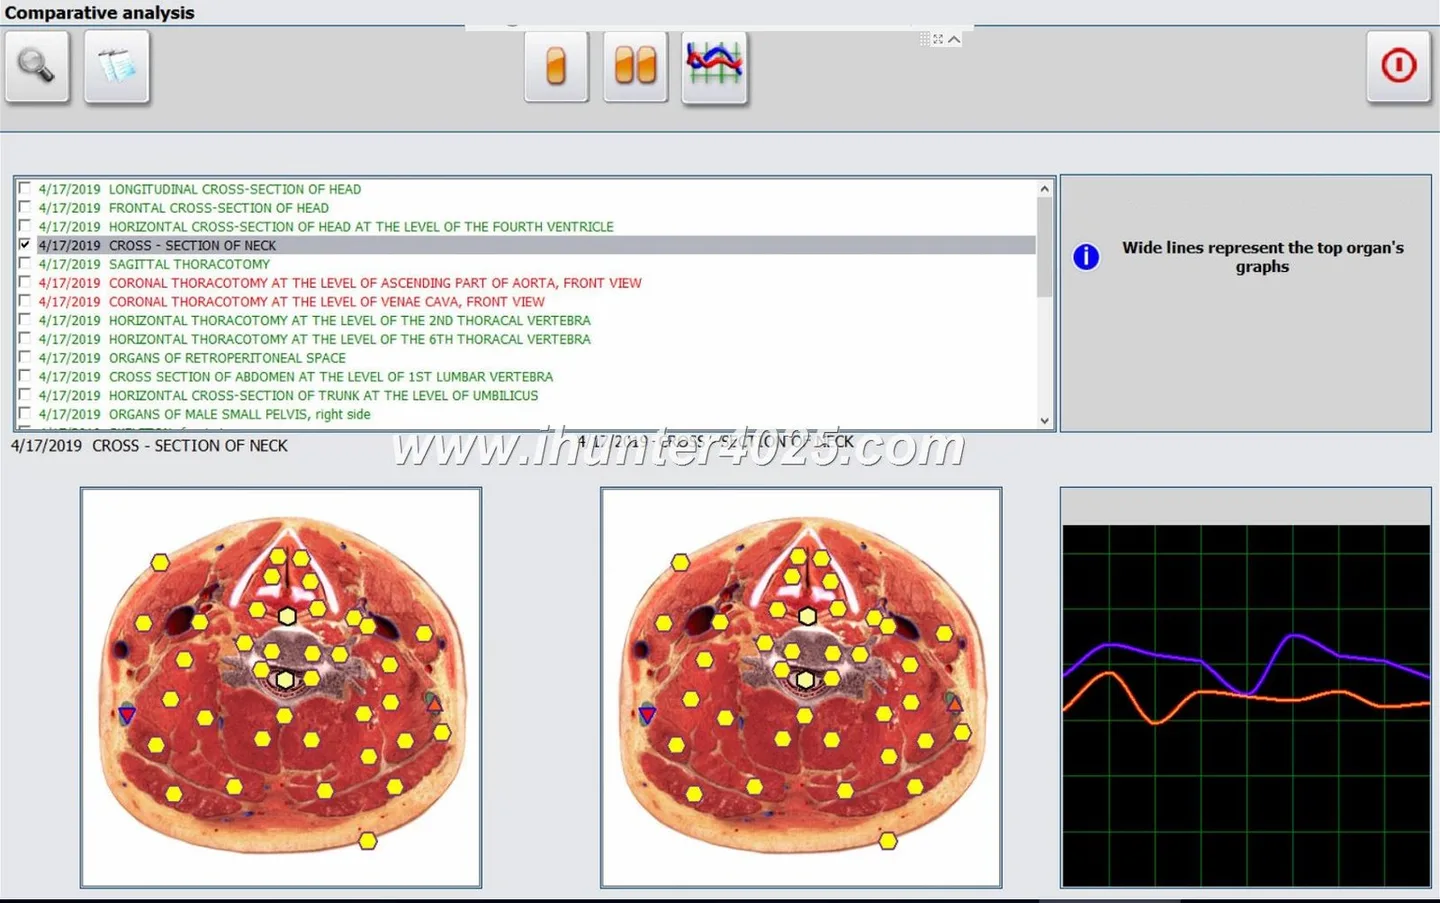
Report review: interpreting Images with Epicrisis — reading the output sections and understanding database references (organs, pathomorphology, microorganisms, remedies lists).
Troubleshooting and routine maintenance steps, including simple cleaning protocols and accessory checks.
Data handling, consent and clinical governance procedures.
Time allocation: The initial on‑site session should cover installation and an instructor demonstration (typically half‑day to full day depending on clinic pace). Supervised practice and competency sign‑off usually require additional clinic time across several patient sessions; plan for at least 8–16 hours of distributed practice per operator to reach routine speed and confidence. These are planning suggestions; exact times depend on staff experience and clinic workflows.
Operator training materials and deliverables
At handover, ensure your clinic receives the following written and electronic deliverables so training sticks and acceptance tests are reproducible:
User quick‑start guide: Step‑by‑step scan and shutdown procedures, accessory connection diagrams, and a short troubleshooting checklist for common issues.
Hunter software reference: A short manual (PDF) covering the Hunter 2026 interface, how to export Images with Epicrisis, and how to select scan protocols. If the supplied manual is missing any local workflow information, add your clinic’s notes as an annex.
Troubleshooting checklist: Rapid checks for connectivity, missing drivers, accessory failures and what to record before contacting vendor support.
Sample reports: At least one sample “Images with Epicrisis” report generated from the installed unit to use as a reference when training staff in interpretation and report handling. These sample reports should be saved to your clinic folder during acceptance testing.
Competency checklist and sign‑off form: A list of observable tasks an operator must perform (setup, scan, save, export, initial interpretation) and spaces for supervisor signatures and dates.
Competency verification: acceptance tests and staff sign‑off
Competency verification should be a formal step before the device is used in routine patient care. Use the following acceptance tests and keep the signed paperwork in the clinic quality file.
Operator acceptance test: The trainee must independently register a mock patient, select the standard scan protocol, perform the scan, save the report and export a PDF. Time the end‑to‑end process and note any issues.
Clinical reviewer confirmation: A licensed clinician in the clinic should review the sample report and confirm that it meets the clinic’s minimum standard for clarity and that the staff know the escalation route for questionable results.
Data storage and PHI handling test: Verify that exported reports are saved to the correct folder, that file permissions restrict access appropriately, and that backup routines capture saved reports as per policy.
Hardware/connection sanity test: Confirm all accessories connect, that the unit boots and software launches cleanly, and that at least one completed scan produces an “Images with Epicrisis” output identical in format to the sample shown during the vendor demo.
Documentation: Completed competency checklist signed by trainer and operator; a single acceptance certificate signed by the clinic’s authorized representative confirming the hardware and software meet the clinic’s expectations.
Delivery acceptance (handover) checklist: hardware, software and documentation
At delivery, use the following checklist to accept or postpone final sign‑off. Do not sign final acceptance until the items below are verified.
Physical inspection: Unpacking, no transit damage, and all accessories present.
Power on and boot: Device powers up and display is stable.
Sample scan: Perform at least one complete scan and save the generated “Images with Epicrisis” report to the clinic folder and export as PDF.
Print/export test: Confirm the clinic printer prints the report and a PDF export opens correctly on a second workstation.
Network save: If intended, confirm saving reports to the clinic network path with correct permissions.
Training delivery: At least one staff member completes the on‑site training session and the trainer observes a successful supervised scan.
Documentation delivered: User quick‑start, Hunter software reference (PDF), troubleshooting checklist, sample reports and competency sign‑off form.
Warranty and service terms: Receipt of written warranty statement (1 year declared) and contact details for MAIKONG support.
How to verify key features and outputs during handover (using product facts)
During the sample scan, confirm these items specifically because they are declared product outputs:
The report is image‑based and contains an epicrisis section (summary text). Ask the trainer to point out the epicrisis and any database cross‑references (organs, pathomorphology entries).
Verify the on‑screen menus include access to the internal databases (organs, pathomorphology, microorganisms, remedies). You do not need to audit the whole database, but confirm the presence of the menu and at least one entry from each major category.
Limitations and risks clinics must acknowledge
We must be explicit about what the device materials do not establish for your clinic:
The product documentation and vendor facts are supplier statements about database size, scanning method and reported accuracy. These are not clinical outcome guarantees. Clinics should not substitute device outputs for licensed medical diagnosis without appropriate clinician review.
Regulatory environment in the U.S.: The supplied materials include company declarations of ISO 9001 and CE. These are factory self‑reported credentials; they do not alone determine U.S. regulatory status (such as FDA clearance) or scope of permitted clinical use. Clinics must satisfy local regulatory and professional obligations before using device outputs clinically.
Software/OS changes: The Hunter 2026 software is supported on Windows 7–11 per the supplier facts. If your clinic later upgrades or changes the OS, re‑validation of software operation will be necessary and may require vendor involvement.
After‑sales locality: MAIKONG declares a one‑year warranty and quick lead time for delivery; local spare parts, advanced repairs and clinical support must generally be arranged by the clinic or a local service partner unless otherwise agreed in writing.
After‑sales boundaries: what MAIKONG provides and what clinics must arrange locally
Understanding what the supplier will do versus what the clinic must provide avoids disputes after acceptance. Below we summarize MAIKONG’s declared support and the practical items a U.S. clinic should arrange locally.
MAIKONG-declared support (factory-provided statements)
Warranty: 1 year (factory-declared). Review the written warranty for scope and exclusions at delivery.
Software: Hunter (2026) shipped with the unit; initial installation support is typically provided at handover.
Clinic responsibilities and recommended local arrangements
Local technical support: Arrange local IT and biomedical technician resources to perform non‑warranty repairs, routine maintenance and part replacement beyond first‑line troubleshooting. If you plan to rely on MAIKONG for local repairs, request a written service agreement.
Spare parts and consumables: Maintain a small stock of common consumables and connectors. The supplier’s one‑year warranty may not include wear parts; confirm which items are covered.
Software updates: Clarify whether Hunter software updates are included in warranty or priced separately. If updates are critical for your workflows, request update policy in writing.
Training refreshers: Budget for periodic refresher training for staff turnover. Remote refresher sessions are acceptable but plan at least one in‑person session for new operators in the first year.
Warranty claims process: At handover, record MAIKONG support contact details and the process for submitting warranty claims (required documentation, photos, serial numbers). Keep this in your equipment log.
How these facts should change your decision
For integrative clinics, the key trade‑offs are operational readiness versus ongoing local support costs.
If you need rapid deployment and have stable Windows workstations and local IT, the short lead time (2–5 days) and single‑unit MOQ are advantages. The declared 1‑year warranty is standard but clinics should budget for local service after the warranty period.
If your clinic plans to integrate scanned reports into an EMR or requires strict HIPAA workflows, confirm export formats and storage procedures as part of acceptance. Integration usually requires some IT work that MAIKONG’s standard delivery may not include.
Because the Hunter software is Windows‑based, clinics standardizing on non‑Windows endpoints should plan to provide an appropriate PC or virtual solution that complies with Hunter’s supported OS list. Failure to do so will delay acceptance and training.
Suitability scenario (how a clinic might implement this device)
A typical implementation flow inside a U.S. integrative clinic looks like this: reserve a consultation room; order the Metatron Hunter 4025 and specify on‑site installation; prepare a Windows 10 or 11 workstation; have one staff member attend the vendor’s on‑site training; complete three supervised scans with real patients as part of competency verification; accept the device only after a successful sample scan and signed acceptance checklist; keep MAIKONG warranty papers and set a six‑month review for workflow, clinical governance and a training refresher.
This scenario is practical and deliberately conservative: it protects clinic workflows, data privacy and reduces the risk that staff begin using the device before they are ready to interpret or escalate results.
Training — supplier training and support reference (request scope and format during quotation)
FAQ (brief)
Do we need a dedicated PC or can we run Hunter on existing clinic machines?
We recommend dedicating a single workstation to the device to avoid conflicts with other clinic software, ensure consistent software configuration and simplify backups. Hunter 2026 supports Windows 7–11; confirm OS version and administrative access before installation.
Will MAIKONG integrate reports into our EMR?
MAIKONG provides the Hunter software and report export capability. Integration into a specific EMR is a clinic IT task and may require custom work. Request specifics about export formats at quotation and plan for local IT support to complete integration.
What if an accessory breaks after the warranty expires?
Spare parts and out‑of‑warranty repairs are generally the clinic’s responsibility unless you negotiate extended service. At purchase time, request a spare parts list and a written service option to estimate ongoing costs.
One useful next step
If your clinic is ready to proceed or needs a formal quotation, please email our U.S. sales contact with three items: the model you intend to order (Metatron Hunter 4025 MK-018 if that is your choice), the intended delivery address (city and state), and whether you require on‑site training or remote training only. Send these details to Lucy@ihunter4025.com. You may also reach us by phone/WhatsApp at +8613510907401 (https://wa.me/861351090701) for scheduling and logistics questions; pricing and formal terms will be supplied in a written quote.
Becoming our U.S. distributor
We welcome inquiries from qualified U.S. partners who can provide local technical service, warranty handling and training. If your organization is interested in agency or distribution arrangements, please include a brief description of your company, service capabilities and planned geographic coverage when you email Lucy@ihunter4025.com.
Disclaimer: This article provides general information for planning and operational decision‑making only. It is not medical advice and does not replace clinical judgment or regulatory guidance. The device facts referenced are supplier‑provided; clinics must verify regulatory and professional requirements locally before clinical use.
This content is provided for learning, information sharing and professional communication only. It is not medical advice and is not a basis for treatment or diagnosis. Confirm suitability, operation and purchasing requirements against the product manual, local regulations and qualified professional guidance.